Showing posts with label tutorials. Show all posts

Downloading a Soundcloud Playlist

While on tokybook.com I found an audiobook I wanted to download which streams through Streamcloud. If you've ever been in this situation wanted to download the MP3 files too, here's some steps to tell you how to do that.


1. Find a book from tokybook.com. For example: Scarlet


2. Right-click (or long-tap) on the Soundcloud player, and select  View Frame Source  from the menu.


3. Search for the first instance of this code in the source file:  permalink_url

Copy the URL address that follows it, with NO quotation marks, which will look similar to this one:

https://soundcloud.com/tkbteam/scarlet-the-lunar-163879920/s-P84EIywPR1D 


4. Paste this new address into the browser address bar and press enter to go there.


5. Right-click (or long-tap) the title of the 1st track from Soundcloud, and select  Copy Link Address  from the menu.


6. Go to forhub.io. In the text box on their home page, where it says "Enter the URL of the Media", paste the link you just copied. Click the Download button.


7. Scroll down the page past advertisements if needed, to hit the "Download the Song" button. After it goes to 100% and automatically downloads, click the "Download Another File" button.


8. Repeat steps 5 - 7 for as many tracks as are listed on Soundcloud. Then you'll have collected the MP3 files in the Downloads area on your device, ready for you to listen to or move wherever you need it.


Enjoy!


Tutorial: Switching from Google Reader to Bloglines

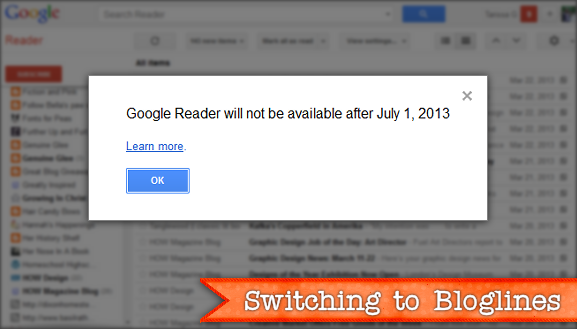
Switching to Bloglines

With the Google Reader about to become a thing of the past, anybody who hasn't switched to another RSS reader needs to do so. We only have until the end of June to part with the faithful tool to keep us updated with our favorite blogs. I have 2 choices that I've tried out myself, Bloglovin' and Bloglines, both as potential new RSS readers to use. If you're interested in Bloglovin', please visit my tutorials (Part I and Part II). However, if you're interested in trying out Bloglines, I have a tutorial ready for you, right here.

You can import your Google Reader subscriptions right into Bloglines, so getting settled into a new RSS blog reader is a cinch.

Ready to move to Bloglines? Join me!


Tutorial: Movin' to Bloglovin' (Part II)

Welcome to Part II of my tutorial on using Bloglovin'! Make sure to read Part I if you need to move your Google Reader subscriptions over to Bloglovin'.

What's next? >>
Customize your new Bloglovin' account a bit more to your liking.

To start, let's go over to the Bloglovin' website. Click on your name in the top right corner and a menu pops up. You can do some investigating here, but for now, click on Settings. Take a look through all the options, but specifically, there are 2 things that caught my attention.

Bloglovin' settings

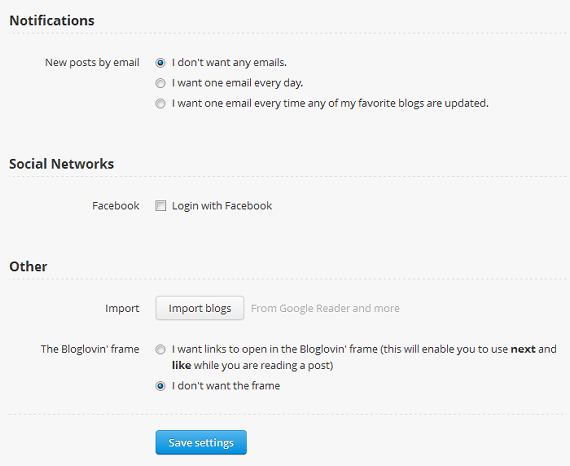
Check your choice of box under Notifications, whether you want to receive a daily email update or not.

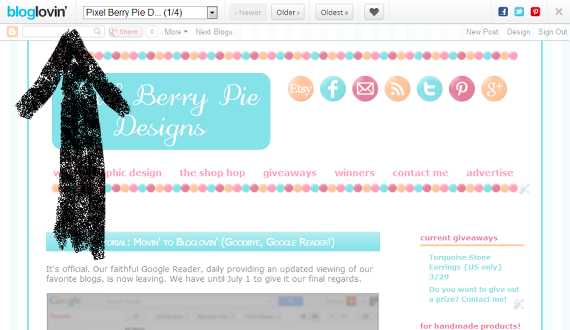
Check your choice of box under Updates, whether you want the Bloglovin' frame to open up every time you visit a blog from the feed. Not sure what this means? The image below points out the frame toolbar. I opted to not having this feature on.

Use the code to claim your blog


Bloggers >> Claim your blog!
To gain access on Bloglovin' to control and keep track of your blog's statistics, you'll want to claim it. Here's how to do it:

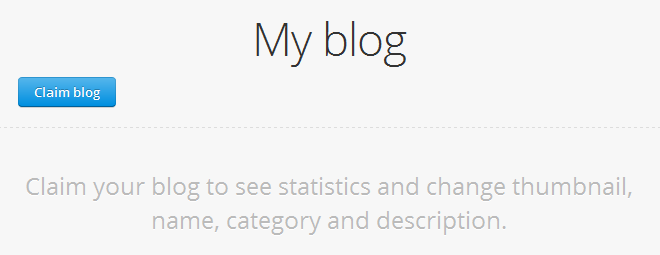
Click on your name in the top right corner for the menu, and click on My Blog. Press the blue Claim Blog button that shows up onscreen.

Claim blog on Bloglovin'

Then search for your blog's name or web address. Click on your blog in the list once you find it.

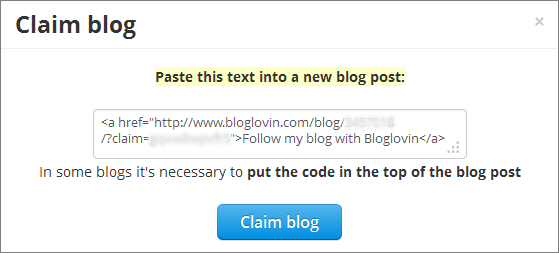
Copy the code you're given onscreen, and pop it into a new blog post (using HTML mode). This allows Bloglovin' to confirm that you are the author of the blog. After you've posted the code on your blog, return to the Bloglovin' page to click the Claim Blog button.

Use the code to claim your blog

You've now claimed your blog on Bloglovin' as your own, and you'll now be able to keep track of its statistics.

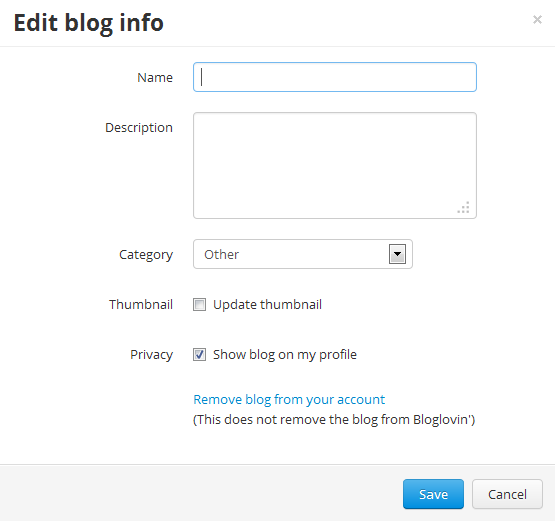
Lastly, you might want to click on the Edit Blog Info button on the right side of your screen to make sure everything is up to date for your blog's information.

Edit blog info on Bloglovin'


Bloggers >> Add a follow button on your blog!
bloglovin.com/en/widgets

Follow buttons and counter widgets are both available on the page above. You can easily add these right into your blog, so that your blog visitors can click on the icons and become followers.


I hope you've enjoyed these Bloglovin' tutorials, and that they've been helpful to you. If you have a moment now, follow my blog on Bloglovin' while you're on a roll. Thanks berry much!

Tutorial: Movin' to Bloglovin' (Goodbye, Google Reader!)

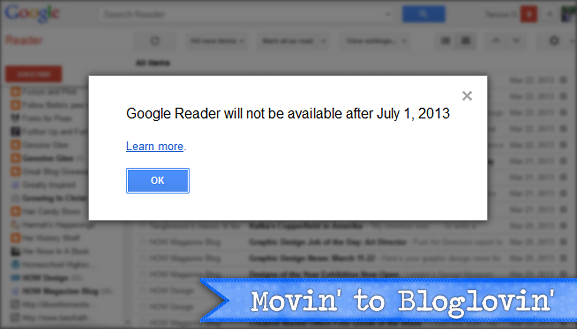
It's official. Our faithful Google Reader, daily providing an updated viewing of our favorite blogs, is now leaving. We have until July 1 to give it our final regards.

Movin' to Bloglovin'


With this removal of a popular tool, we've been given a call to action. Another RSS blog reader must be found. I've been hearing about Bloglovin' for months. Really, it's more by trend that by choice that I'm trying it out now. This website provides a similar service to Google Reader, and if you decide to start using it, then I have a tutorial for you below!

Tutorial: Grow Your Knowledge


You can import your Google Reader subscriptions right into Bloglovin', so getting settled into a new RSS blog reader is a cinch.

Ready to move to Bloglovin'? Join me!


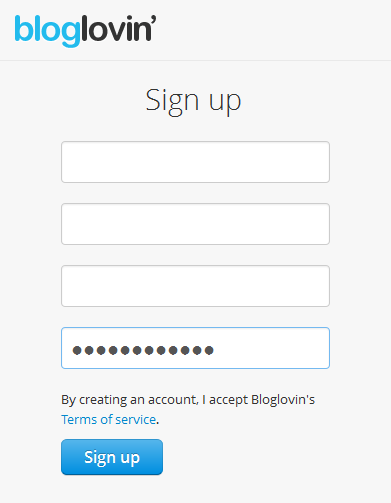
1: Sign up.
bloglovin.com/signup

Sign up on Bloglovin'

2: Confirm your email address to complete registration (this requires a visit to your inbox).

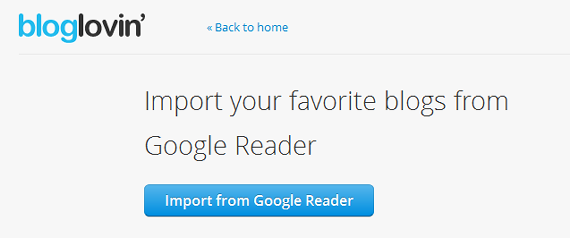
3: Import from Google Reader.
Import your Google Reader to Bloglovin'

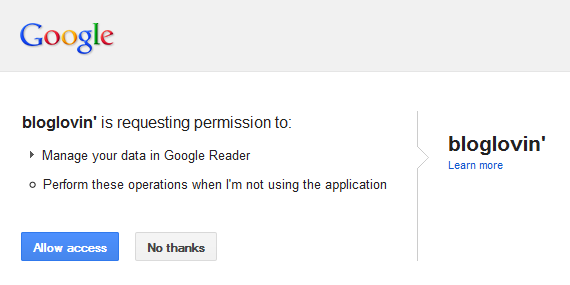
Click the blue Allow Access button:

Allow access to Bloglovin'
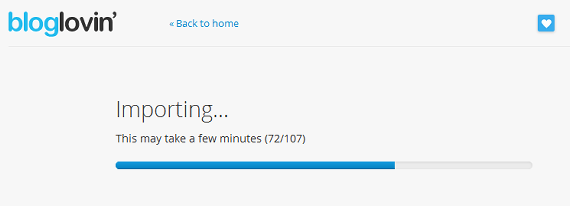
Wait a bit...

Importing to Bloglovin'

4: And finally, check out your new blog feed viewer!

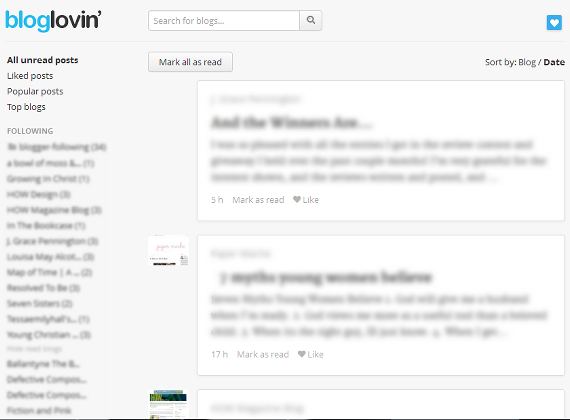
Bloglovin' feed view

Reading your favorite blogs is now going to be in a different format than it was in Google Reader. However, Bloglovin' is an adequate replacement, especially since blogs everywhere seem to be migrating there. Other RSS readers are out there too, so if you're not completely satisfied with Bloglovin', you can still decide to move your daily blog reading somewhere else.

Enjoy!
Make sure to also read Part II of this tutorial. Learn the extras you need to know about Bloglovin'.
If you have a moment now, follow my blog on Bloglovin' while you're on a roll. Also, please pin or share this post if the tutorial would be beneficial for your followers. Thanks berry much!

Just wanted to say...

Follow my blog with Bloglovin

I'm adding Pixel Berry Pie Designs to Bloglovin'. Click the link above if you want to follow my blog!

Also, I'll have a tutorial up soon about how to move your Google Reader subscriptions right into Bloglovin'. It's super easy.


Focus on producing a blog...

SEO tips! Using "www" in website links, or not?

Tutorial: How to grow your online business.


Looking for a quick SEO tip on how to improve your search engine ranking?


I have a very important tip on search engine optimization. It applies to any kind of website you have! It helps to improve your overall blog's ranking, increase views to your Etsy shop in search engine results, etc.


Tutorial: Switching from GFC to Google Plus

Tutorial: How to grow your online business.


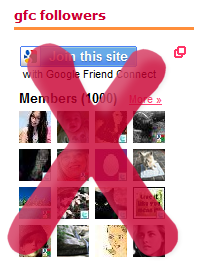
Google Friend Connect is leaving. Only part of the web will be affected though, because Blogger.com/Blogspot (which have the majority of its users) will remain unhampered by this change---which is great! But it means Wordpess, Typepad blogs, etc, will no longer have access to using the GFC widget to collect members. If you're wondering what to do, I've made this tutorial to help you keep up with what Google is rolling out next.


Google Friend Connect is leaving

To replace GFC, Google now has made Google Plus (or Google+). This new feature does *not* work exactly how GFC did, so there are new things to learn. It is a social network that runs similarly to Facebook. I don't know everything about Google+ yet, but I'm on my way, and I hope this tutorial will help get you started!


I have moved. (to Google Plus)


Advertise on Pixel Berry Pie blog


The Pixel Berry Pie Designs blog is all about promoting great products, online shops, and more. Most readers enjoy the Shop Hop (for sellers to share their items), and the the weekly giveaways held here (prizes usually offered from Etsy stores).


Pixel Berry Pie Designs Blog


Advertisement information:
Space is available for advertisement in my blog sidebar. Your ad will show up on any page---my home page and on individual blog posts. I prefer the 125x125px size, but if you have a different sized banner, feel free to ask me about it.

For 1 month of advertisement: $7.00
For 3 months of advertisement: $18.00

(Prices may be subject to change later on.)


Extra bonuses for my paid advertising service! For each month, I will...


  • Show your button in my blog sidebar the entire month.
  • Spotlight your products in a featured post.
  • Mention your business from Facebook, Twitter, Google Plus, and Pinterest.


  • Do you need a button advertisement made for you?
    I also would like to offer my services of creating and designing a button ad if you do not already have one, for a one-time additional cost. Contact me and we can get started on the design right away!

    Giveaways & Product Reviews:
    If you have a product that you think my blog readers would enjoy hearing about, feel free to ask me. I'm open to doing reviews or giveaways. I would love to help promote your products! Click here to read more about offering a prize to give away.

    Berry Handmade Promotions:
    This is a blogging team I've started to boost handmade products even further across the internet. With several bloggers working together, the audience reach will be much larger, which means more attention is drawn to your products. We offer premium giveaways, reviews and spotlights. Read details >>>

    Statistics as of July 2016: 
    Facebook Fans: 3,200
    Google Plus Followers: 1,200
    GFC Followers: 1,060
    Newsletter Subscribers: 800
    RSS Feed Subscribers: 790
    Pinterest Followers: 760
    Twitter Followers: 630

    Average Monthly Pageviews: 8,000
    (based on 3 month average)

    If you're ready...
    Contact me if you are interested in advertising on my blog! I'll be happy to answer any questions you may have, fill you in on more details, and set up payment through PayPal.
    pixelberrypie@yahoo.com


    How to Upload your Etsy Shop Banner & Avatar

    Tutorial: How to grow your online business.


    Here is a basic tutorial of how to get your Etsy shop banner, avatar, and other images properly uploaded into your account, so that you can get your shop looking its best, without any delay.

    ** Before you begin, make sure your Etsy files are downloaded in an easily accessible location on your computer.

    for Banners -- in the Your Shop menu (top right corner on Etsy), click Info & Appearance >> click the "choose file" button to browse your computer and find where you downloaded your banner image. Click "Open" when you have selected the banner image. Make sure to click the "Save" button at the bottom of the Etsy page when you're done.

    for Avatars -- in the Your Account menu, click Public Profile >> click the "choose file" button to browse your computer and find where you downloaded your avatar image. Make sure to click the "Save" button at the bottom of the Etsy page when you're done.

    for Custom Order {or} Reserved Listing graphics -- Upload these just like regular photos into your Etsy listings.


    If you found this helpful, you may be interested in reading my other tutorials about how to grow your online business.